3DoT V9.1 Quick Start Guide
Congratulations on obtaining your 3DoT board and welcome to Arxterra!
Here you can find countless tutorials, articles and blog posts on all things 3DoT and telerobotics.
Let’s get started with your new 3DoT board.
The 3DoT board comes shipped with the “Basic Sketch” programmed to the board. This is the Arduino code that allows your 3DoT to control any 2 motor, 2 servo robot using the ArxRobot App and Control Panel.
Let’s test this out to make sure everything is working.
Test the Basic Sketch
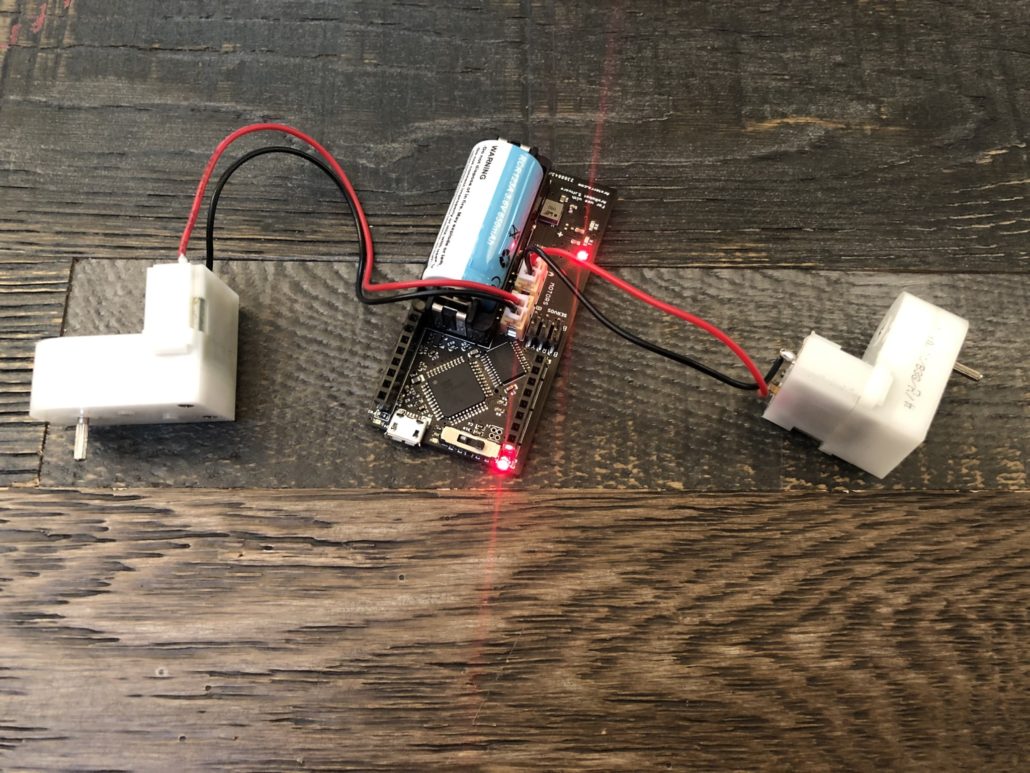
Step 1: Connect any small motors to the 3DoT using the included JST connectors.
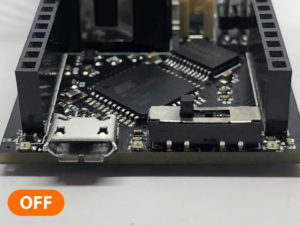
Step 2: Switch the 3DoT from OFF to RUN.
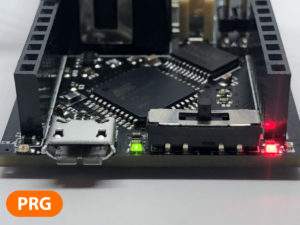
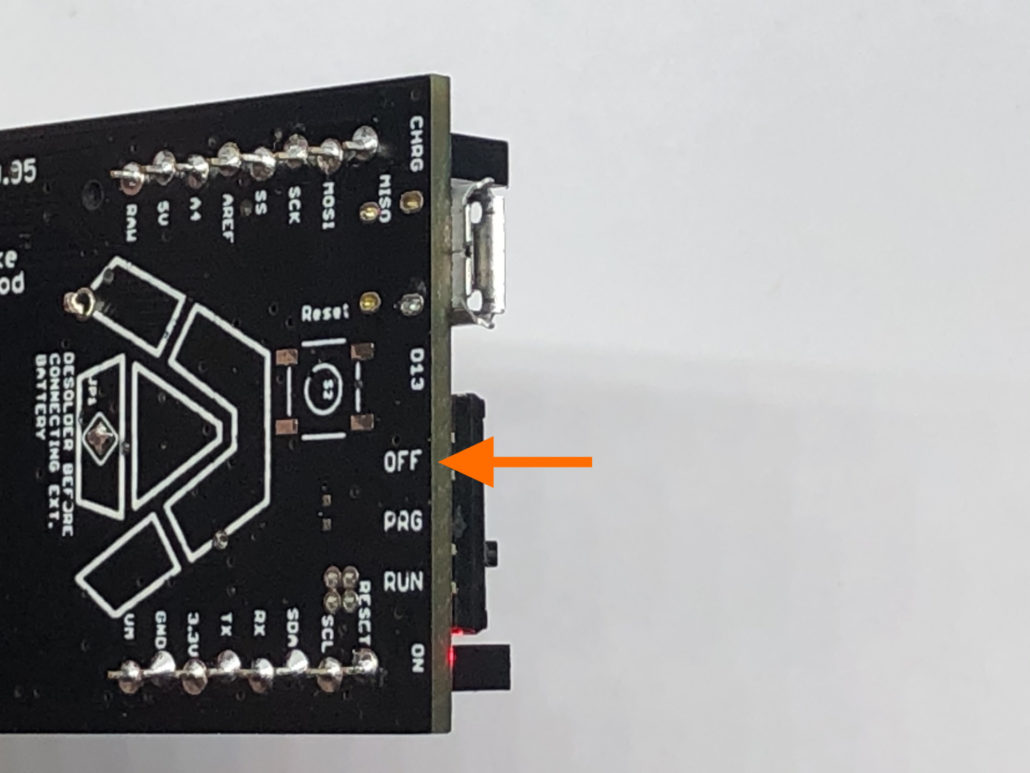
Note the switch has 3 different positions: OFF – PRG – RUN.
We will get back to the “PRG” Setting later. See the back of the board to check what each switch position does.
Step 3: Check the “BLE” LED is blinking after you turn the 3DoT ON. This indicates the Bluetooth is ready to connect.
Step 4: Download and install the ArxRobot App to your iOS or Android Device (Early Testers: These buttons will be direct Play/App Store download links once the app is released)
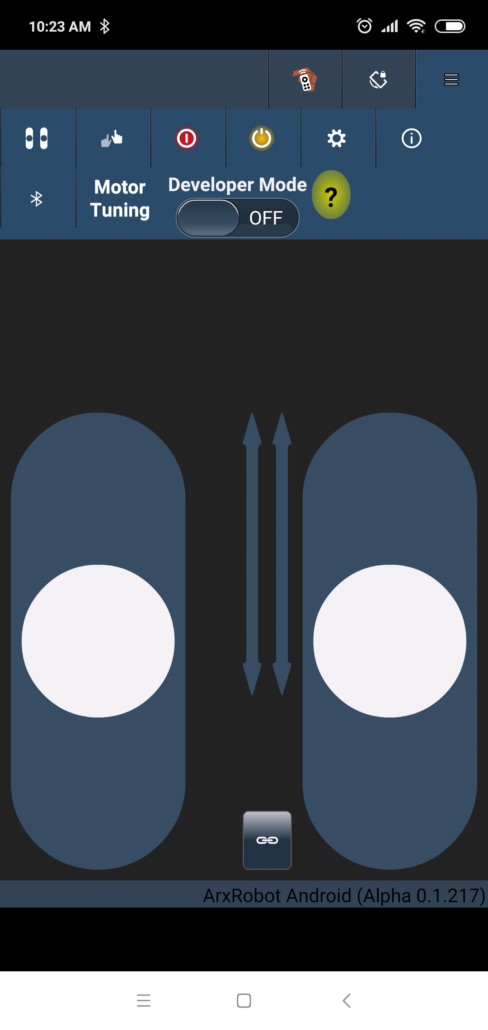
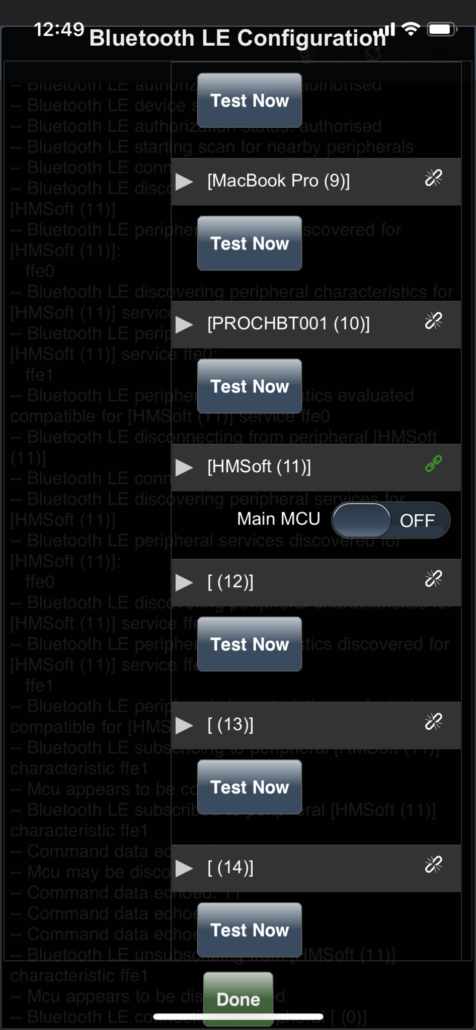
Step 5: Open the app and, if it hasn’t already popped up automatically, open up the bluetooth menu by tapping the menu icon, and then the Bluetooth icon.
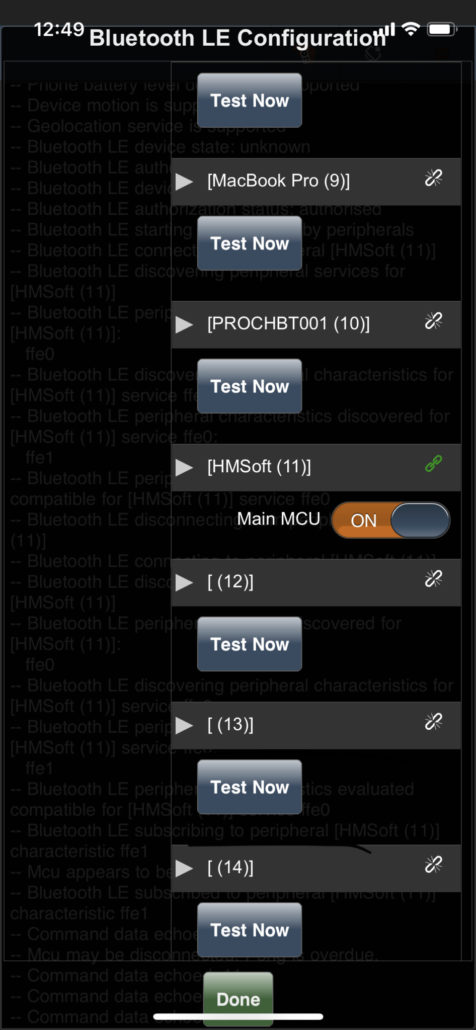
Step 6: Find your 3DoT’s Bluetooth Module (“HMSoft” or “BT-05A” by default) and tap the button to connect. The bluetooth menu should automatically close once connected.
Step 7: Play with the joystick sliders and see the motors spin! You now know how to build a 2 motor robot with the 3DoT board. Simply plug in the motors and go!
Next Steps: Making an Autonomous or Telepresent Robot
To program the 3DoT yourself and make an autonomous robot:
To use the ArxRobot Control Panel and make a telepresent robot:


