Disassembly and Reassembly Guidelines and Rules

By: Natalie Arevalo (Design & Manufacturing Engineer)

Approved by: Lucas Gutierrez (Project Manager)

Table of Contents

Introduction

The customer requested for there to be specific rules and guidelines for the disassembly and reassembly portion during the day of Mission Launch. In order to compile a comprehensive list of rules and guidelines, a set of questions were sent to the project managers in regards to disassembly and reassembly. With the initial input from the project manager, an initial document was composed outlining the intended rules and guidelines. After a brief review of this document by the project managers, minor adjustment were made to the list. The current list of the rules and guidelines for disassembly and reassembly are listed below.


Guidelines and Rules

Time Allotted

  • Disassembly: 10 minutes
  • Reassembly: 10 minutes


Rules for Dissassembly

  1. All robot will be disassembled by the E&C and Manufacturing engineers – 2 engineers in total.
  2. All teams will disconnect all electronics connected to the 3Dot board.
    1. All 3Dot boards will be clear of electronics
  3. All teams will disconnect motors
  4. Project specific disassembly guidelines:
    1. Sojourner
      1. Disassemble rover body
      2. Disassemble suspension system
      3. Disconnect all sensors
    2. Goliath
      1. Remove panels
      2. Remove tracks
      3. Disconnect all sensors
    3. P-Bot
      1. Disassemble robot body
      2. Disconnect wheels
      3. Disconnect all sensors
    4. ModWheels
      1. Disconnect wheels and front axle
      2. Disassemble chassis
      3. Disconnect all sensors


Rules for Assembly

  1. All robots will be reassembled by the E&C and Manufacturing engineers – 2 engineers total.
  2. All teams will be allowed to use a cable tree as well as an assembly diagram as necessary.
  3. All robots will be tested after reassembly to confirm its functionality.
    1. Test will be conducted using the Arxterra App
      1. Robot should be able to go forwards
      2. Robot should be able to go backwards
      3. Robot should be able to do a right turn


Source Material:

Feature Picture: https://www.assemblymag.com/blogs/14-assembly-blog/post/91291-taking-stuff-apart

Fall 2017: ModWheels 3D Model

By: Natalie Arevalo (Design & Manufacturing Engineer)

Approved by: Lucas Gutierrez (Project Manager)

Table of Contents

Introduction

As part of the ModWheels team, I was asked to make various modifications to the existing model of the KidStuff’s car. Additionally, a new part was designed and integrated into the modified model. More parts will be designed in the future as holders for additional components. However, the following blog post expands on the modifications mentioned above as well as the newly designed part. The blog post ends with the full assembly of the ModWheels model.  

Model Designs

Top and Bottom Panels

Both the top and bottom parts of the chassis were altered to accommodate 3DoT 5.03. The main changes involved moving the opening for the battery holder as well as the access points for the pin headers on the top part of the chassis. For the bottom of the chassis, the accesses points for the bluetooth module and the color shield were also moved. Additionally, holes were made in which dawls would be placed to put a platform on top of them to hold a phone. Lastly, holes were made on the top and bottom of the chassis to place zip ties which will hold wires out of the way of any moving parts. All of these changes can be seen below.

Figure 1: Bottom Panel

Figure 2: Top Panel

Front Axle

The front axle is composed of three major components: a front pivot axle, a connector from the front pivot axle to the wheel axle, and the wheel axle. Two different versions of the front pivot axle were initially rendered by the Design & Manufacturing Engineer for P-Bot, Railan. One of these two models was used for the front pivot axle after making the part thinner. After this modification was completed, the connector and wheel axle were modeled in SolidWorks from the given .stl file. All of these parts can be seen in the following figures.

Figure 3: Front Pivot Axle

Figure 4: Front Pivot Axle to Wheel Axle Connector

Figure 5: Wheel Axle


Servo Holder

Some additional modifications were made to the servo holder as well. The height of the holder was decreased and the motor heads on it were also made hollow. Hooks on one side of the holder were also added to place the wires of the proximity sensor in the front away from any moving parts. The modifications for this part of the design can be seen here:

Figure 6: Servo Holder


Wheels

A minor change was made to the back wheels of the car. The hole where they are inserted into the GM6 motors were changed into D shaped to be able to be fit into the motor shaft.  The changes can be seen in the following picture.

Tire treads were designed, modeled, and provided by Jeff Gomes.  

Figure 7: Wheel

Figure 8: Wheel Tread (Designed, modeled, and provided by Jeff Gomes)

Full 3D Model

With all the changes and additions mentioned before, a new full 3-D model of our robot was assembled. The full model also includes the IR shield which was missing before. The 3-D model of the ModWheels car can seen be here.

Figure 9: Full 3D Model


2D to 3D Mechanical Design

By: Vanessa Enriquez (Design & Manufacturing Engineer for Goliath)

Approved by: Lucas Gutierrez (Project Manager for ModWheels)

Table of Contents

Introduction

After PDR, I was temporarily reassigned to the ModWheels project to begin recreating the existing 2D design onto a 3D design in Solidworks.


Preliminary design

To begin with, the current design was provided to me by the project manager, Lucas. Figure 1 includes the instructions and features that will be present in the first design of the 3D model. The 2D .dxf file was converted into solidworks and was separated into four parts.  

Figure 1 – 2D design includes top and bottom panels, wheel, and latch.    

2D to 3D

The cut out instructions mentioned in figure 1 were implemented in sSolidworks. All parts were extruded to 3.429 millimeters.

Figure 2 – Solidworks assembly for current design includes top and bottom panels, wheel, and latch.   

Conclusion

The files and designs were then sent over to the new Design & Manufacturing Engineer for ModWheels, Natalie, to look over and finalize before laser cutting. Natalie will be in charge of any future design changes and assembly of the model.

Goliath Fall 2017 – Color Sensor Line Following

The theory behind line following with color sensors is the same reasoning used when using IR sensors. A sensor is placed on each side of the centerline and both sensors are constantly read back to adjust heading direction as based on which sensor is detecting. Both Sensors White: On-the-line, continue forward straight line. Right Sensor Black: Off-the-line, veer to […]

Rules Of The Maze (Robot Avoidance Rules and Strategy)

By: Matt Shellhammer (Electronics & Control Engineer)

Approved by: Lucas Gutierrez (Project Manager)

Table of Contents

Introduction

When traveling through the maze, robots have the possibility to encounter other robots. To ensure the robots will be able to successfully navigate the maze and complete the mission objectives, we need to have general rules of the maze. These rules should be followed by all projects to guarantee that all robots are following the same rules for navigating the maze.

Possible encounter cases:

2.1.  Face-to-Face in hallway (North/South & East/West)

2.2.  Face-to-Back in hallway (North/South & East/West)

2.3.  T – Intersection


Rules for robots that occupy more than one room

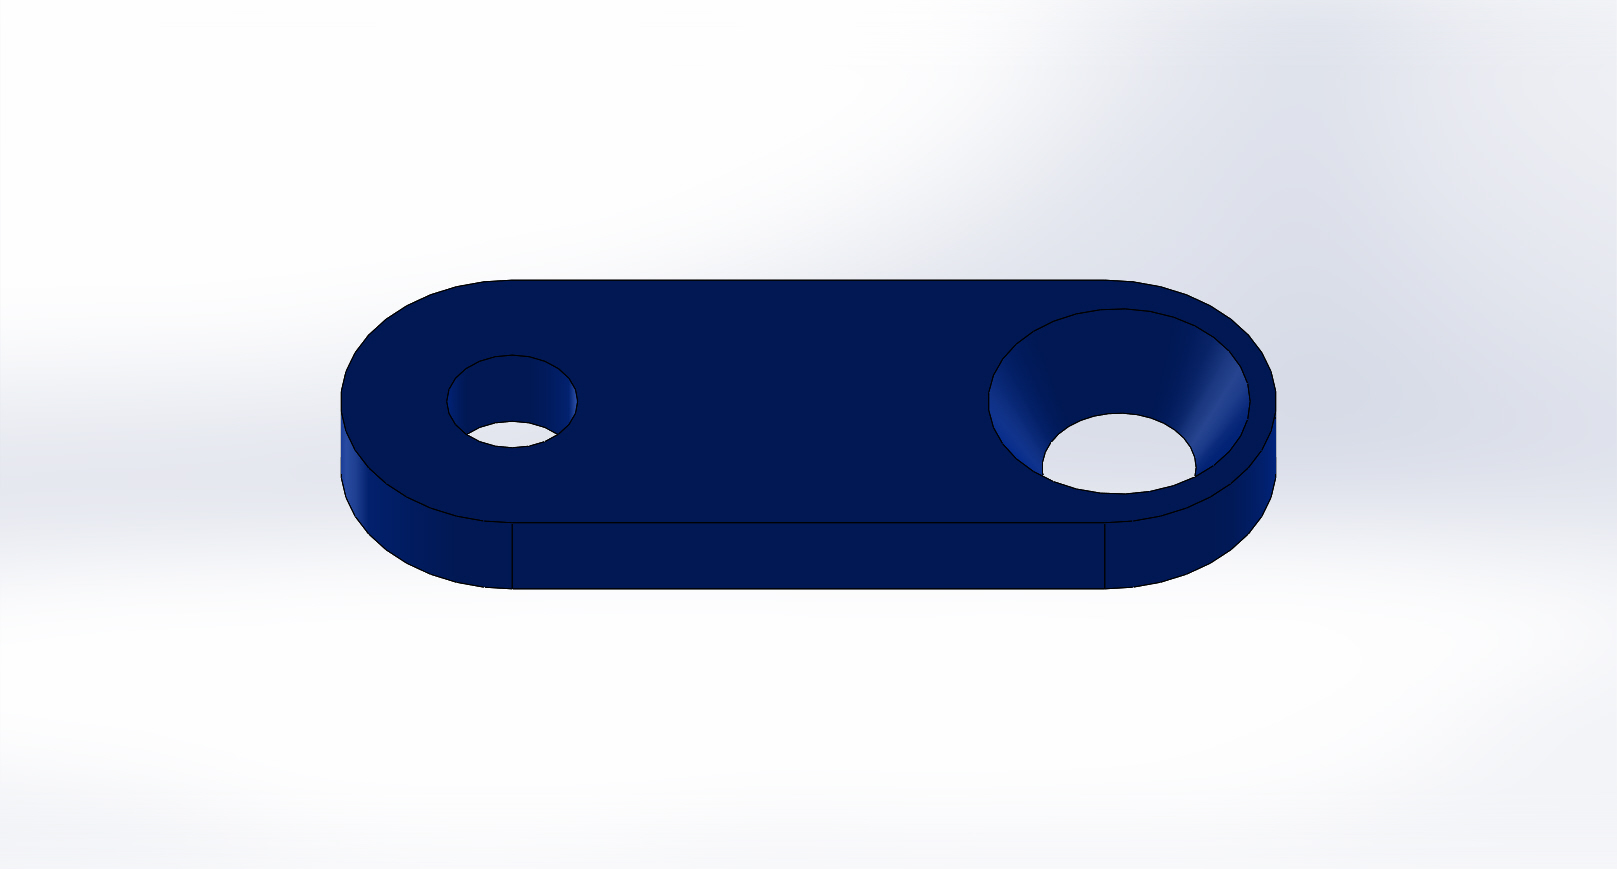
Some projects have robots that are larger than one room size which if not addressed can cause issues with the rules of the maze. For projects that will take up more than one room size, the excess robot space should be in the previous room. This is to ensure that robots will not be seen as within the intersection when they have not yet stepped into the intersection. This will mean that robots that take up more than one room will be occupying their current room and part of the previous room, which should not cause any problems for the rules of the maze. If the robot has just stepped through the intersection and is partially within the intersection, it will be cleared once they step into the next room.

Rules for detection

To detect robots within intersections and in face-to-face or face-to-back encounters, detection should be continuous since robots will not be moving in synchronization and a robot can step into a new room at any time. Robots should be able to detect a robot in the next room ahead since all decisions will be made within a one room range.

Rules for encounters 2.1 (Face-to-Face) & 2.2 (Face-to-Back)

For encounters 2.1 & 2.2 the rules will be defined as follows:

A robot that is in a hallway (vertical/horizontal) that encounters another robot, either face-to-face (case 2.1) or face-to-back (case 2.2) will immediately pause movement for three seconds. If this robot still detects the other robot after these three seconds, the robots must be in case 2.1. If the robot no longer detects the other robot after these three seconds, the robot then must be in case 2.2.

If the robots are in case 2.1 and they are in a vertical hallway (north/south) the robot facing north has the highest priority. If the robots are in case 2.1 and they are in a horizontal hallway (east/west) the robot facing east has the highest priority. In case 2.1 robots facing either south or west have the lowest priority and are therefore left with the burden of clearing the path. The robot with lower priority should turn around and retrace its path until the robot with highest priority is able to pass. When the robot is retracing its path it should retrace its path until its last decision point (last intersection) and wait for the robot to pass. If the higher priority robot tries to go down the hallway that the lower priority robot is waiting in, the robots are now in either case 2.3 or 2.4. In this case the robot within the intersection is now at lower priority and follows the rules explained in Section 4.

If the robots are in case 2.2 they will then continue on with the desired path.

Rules for encounters 2.3 (T – Intersection)

For encounter 2.3 the rules will be defined as follows:

When a robot comes to an intersection it will attempt to step into the intersection and either turn or move straight along its path. If a robot steps into an intersection and sees another robot as it tries to make its maneuver, then these robots will be in case 2.3. In this case the robot that is within the intersection (in the middle of the T – intersection) has the lowest priority and must move out of the way of the other robots (if the other robots are in the path of the low priority robot). The lowest priority robot will step down the hallway that is not blocked and then wait for the other robot to pass. The robot may try to step down the hallway that the waiting robot is in and this will mean that this robot is now at lower priority and has to move for the previously waiting robot. A robot waiting at an intersection for another robot to pass should timeout after waiting ten seconds for a robot to pass. After timing out the robot should then make a second attempt to continue along its path. This timeout is used for when a robot in an intersection detects another robot in its path, as long as the detected robot was not traveling through the intersection (e.g. waiting to enter another intersection).


Recovery strategy

If a lower priority robot is required to clear the path of a higher priority robot then there must be a recovery strategy for that lower priority robot. The recovery strategy for case 2.1 should have the robot only travel forwards and backwards along its designated path to allow for the robot to easily repeat the steps taken clear the path. This then allows the robot to either step forward or backward along the recorded path, and requires no modification to the robot’s path. And for cases 2.3 and 2.4, the robots should only move off the designated path to move out of the way for other robots when required, and then continue back on the designated path.


Special Cases to consider

Three robots at T – Intersection (special case of 2.3)

Rules for three robots within a T – Intersection

If a robot is thought to be in case 2.3, then attempts to move down the other hallway, and then again encounters another robot, then there must be three robots within this intersection. I don’t know we should deal with this case… What if another robot comes up behind this robot, it is now boxed in… Additionally, the other robots do not know that there is three robots (four if you include the additional robot) at the intersection.

Other things to consider

Detection of robots multiple rooms away, so when there’s an intersection with three robots, there is an open space for the robot within the intersection to move into to allow the other robot to move by.

Color Sensor Trade Study

By: Matt Shellhammer (Electronics & Control Engineer)

Approved By: Lucas Gutierrez (Project Manager)


Table of Contents

Introduction

For the Fall 2017 semester of EE 400D, all of the projects at The Robot Company will be using color sensors to navigate a colored 2D-maze, most commonly using TCS34725 1. color sensor.  This color sensor will be mounted onto each of the robots in a particular manner, decided by each project.  The goal of this trade study is to help give the projects an idea of where exactly on their robots the color sensor should be mounted in reference to the colored 2D-maze.  The sensor should be placed far enough away from the line to avoid only sensing the line all the time; however, it should also be close enough to the line so it will quickly sense the line when the robot veers off the desired route.

Methodology

In this trade study I used two devices, namely the Arduino Uno and the TCS34725 color sensor.  I connected the color sensor to the Arduino Uno in the configuration shown in the table below (Table 1: Interface Matrix).  Additionally, to read the values from the color sensor, I2C communication was used.  To implement this communication, the Adafruit Arduino I2C communication library was used, which is available online on the Adafruit website 2..


Table 1: Interface Matrix                       

Arduino Uno pins

TCS34725 Color sensor pins

Vcc (3.3v)

VIN

GND

GND

SDA (pin18)

SDA

SCL (pin19)

SCL


The color sensor was then set up next to a paper with measurement tick marks to measure the distance away from the color sensor (vertical test), and then reconfigured later to measure the distance from either the side of the color sensor (horizontal test), both as shown in the figures below.


Figure 1: Color sensor trade study configuration for vertical distance test.


Figure 2: Color sensor trade study configuration for horizontal distance test.


Next, using strips of vinyl tape (electrical tape) I then tested four different color tape strips. To determine the optimal vertical distance away from color sensor, I tested to see where I got a peak measurement and then called that the optimal distance for that color. The color strips used are shown in the figure below with the results for the vertical test following (Table 2: Optimal vertical distance for color strips).

Figure 3: Color strips used in trade study. From left to right: Black, Red, Green, and Blue.


Table 2: Optimal vertical distance for color strips

Color-strip color

Optimal vertical distance

Black

2 mm

Red

3 mm

Green

2.5 mm

Blue

2 mm


After this test was performed, another test was performed to determine the optimal horizontal distance for the color sensor. This optimal distance will be more subjective, since the color should be far enough away from the sensor to not always be detecting the lines, but close enough to reduce the response time of the robot’s reaction to the line. For this test, I measured two distances for each color. One at the point the colored strip was detected as well as at the point at which the amount of detection significantly spiked. The origin (zero) value was set at the middle of the color sensor. I then performed the test, from the left and the right side of the color sensor, as defined in the figure below. The horizontal test results follow (Table 3: Optimal horizontal distance for color strips).


Figure 4: Test setup to show which side would be the right side of the color sensor vs which is the left.


Table 3: Optimal horizontal distance for color strips

Color-strip color Detected horizontal distance (Left) Detected horizontal distance (Right) Detection spike horizontal distance (Left) Detection spike horizontal distance (Right)
Red 9 mm 9 mm 2 mm 2.5 mm
Green 1.5 mm 4 mm 1 mm 1 mm
Blue 4 mm 10 mm 1 mm 2.5 mm
Black 3 mm 3 mm 0 mm 0 mm


It can be noted that the range of detection can vary from color to color, and from left to right due to the location of the color detector on the color sensor. In most cases, the range of detection of the color strip was a small but significant distance further from the right than the range when measuring from the left.


Conclusion

The first result that can be inferred from this trade study is that a vertical distance from the color sensor to the detected color is optimal within a range of 2 – 3 mm. The second result that can be inferred from this trade study is that a horizontal range of 2.5 – 3 mm away (zero being the center of the color sensor) to the detected color will result in consistent readings, with no significant unintentional readings. However, if trying to ensure no color detection when driving along a path, a horizontal range of 9-10 mm might be better desired. Testing with the project specific robot and software will also be an important factor when deciding the layout and placement of the color sensors. This trade study is to be used in supplement with testing to give the engineers a good starting point when designing the color sensor layout.

Source material

  1. https://www.adafruit.com/product/1334
  2. https://github.com/adafruit/Adafruit_TCS34725

Goliath Fall 2017 – Initial Design

After inspecting last year’s final product, I began to redesign the dimensions of the overall body of the tank. While reviewing their SolidWorks’ files, I calculated a maximum possible decrease in width of 8.95 mm. The following changes were made in order to minimize the overall width of the tank and other changes were to […]

Goliath Fall 2017 – Component Testing

This project will be including 4 new peripherals and parts for this iteration of the Goliath. To fulfil the following requirements: Operation Task – Autonomous, L1(13) Operation Task – Recall, L1(14) These parts will be added eventually to the PCB design on the Goliath. The tested components so far are as follows: Color Sensors, LED Matrix, […]