Arxterra Now Supports Waypoint Navigation
ArxRobot version Alpha 0.1.62 has been uploaded to Google Play at https://play.google.com/apps/testing/air.com.arxterra.arxrobot.
Changes include:
- Added support for Waypoint Navigation. If you program your Arduino to take current GPS location and heading data, and navigate to a desired location, ArxRobot will:
- Provide current coordinates from its GPS sensor.
- Provide heading information from its motion sensors.
- Relay waypoint coordinates and various route management commands as the pilot triggers them at the Control Panel.
- Added watchdog messaging between ArxRobot and Arduino to help detect disconnects more quickly.
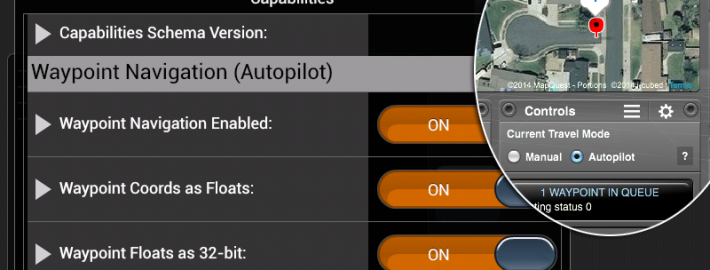
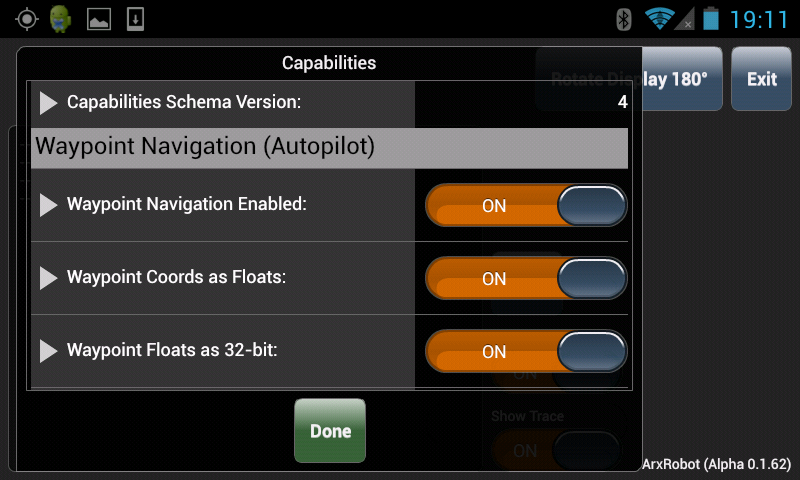
To inform ArxRobot that your Arduino is programmed to take advantage of the Waypoint Navigation feature, you must enable and configure it at the Capabilities screen during ArxRobot startup.
When you write your Arduino code (see an example at https://github.com/arxterra/arxrobot-firmware), you can choose between 3 different data types for the coordinates that ArxRobot sends with the WAYPOINT_COORD and WAYPOINT_MOVE commands. Your selection will depend upon the capabilities of the Arduino you are using and your desired balance between numerical precision and the accuracy (or lack thereof) of the GPS data you expect to receive.
Our current example code uses the 32-bit floating point data type, because most Arduinos available at this time do not support a 64-bit floating point data type. The following list includes a brief description and the config settings for each type.
- 32-bit floating point or “float”
- The current default
- Units: degrees
- Numerical precision equivalent to a resolution of about 11 meters at the equator
- Settings:
- Waypoint Coords as Floats: ON
- Waypoint Floats as 32-bit: ON
- 64-bit floating point or “double”
- Units: degrees
- Not usable on most Arduinos at this time. What is called a “double” is actually 32-bit. See http://arduino.cc/en/Reference/Double
- Numerical precision the best we offer
- All our coordinates are stored in this data type on the Control Panel and ArxRobot and in all messaging between them
- Settings:
- Waypoint Coords as Floats: ON
- Waypoint Floats as 32-bit: OFF
- 32-bit integer or ‘long”
- Units: decimicrodegrees
- See http://sloblog.io/~pdc/kbGgQRBcYsk/latitude-and-longitude-in-32-bits for more about this option
- Numerical precision equivalent to a resolution of about 1 centimeter at the equator
- Settings:
- Waypoint Coords as Floats: OFF
- Waypoint Floats as 32-bit: (ignored)
The Control Panel required a lot of new features to work with this. Your browser may be caching an older version. Be sure to check the lower left corner of the window, and hit “refresh” if it says anything less than version Alpha 0.1.32.
![]()
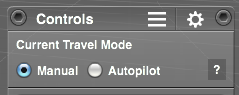
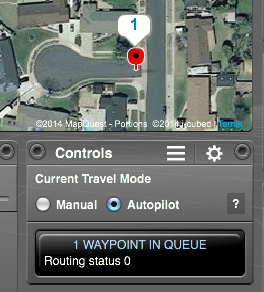
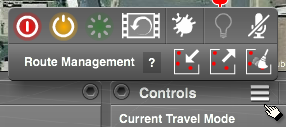
When you board your Robot, the Control Panel has a new section in the Controls pod that appears only when Waypoint Navigation is enabled. It lets you choose whether or not the Autopilot is engaged. You can create and manage waypoints at any time and they will be sent immediately to the Arduino, regardless of which mode you are in. But the Arduino should not move on its own until it receives a WAYPOINTS_ON command.
We hope the rest of the Control Panel operations are fairly self-explanatory. The question marks are tooltip triggers, and some labels also have tooltips on them. But most importantly, when in doubt about what a button does, hover over it and there will usually be a tooltip to help you out.
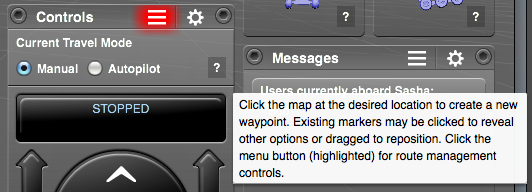
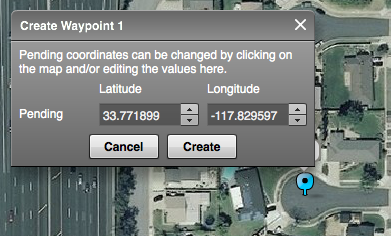
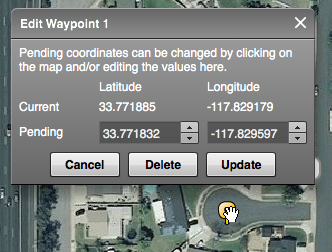
Click to create a waypoint.
Then you can drag it around…
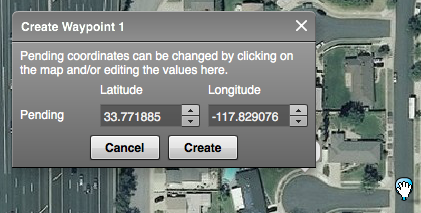
Or change the numbers directly if you like.
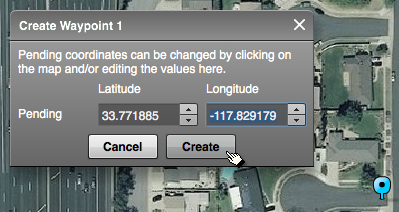
When you’re happy with it, click Create.
To make a change, drag the waypoint marker to a new position or just click on it. In either case, the edit window pops open again for you to make any needed adjustments and confirm the change. Or you can delete the waypoint.
Operations on an entire route are accessed via the Controls pod menu. The second row, labeled “Route Management,” appears only when Waypoint Navigation is enabled.
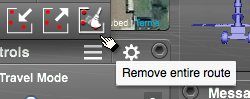
You can import and export in JSON format, or delete the route. Again, tooltips are your friend when you get ready to do this the first time.

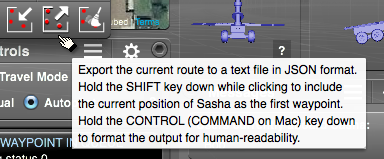
If you already have a list of lat/long coordinates you want to use, create 2 or 3 random waypoints on the map. Export that route by clicking the export button while holding down the Control (Command on Mac) key, so the file will be saved with line returns and indentation to make it more readable. Open the file in a plain text editor and see how it is done. If you carefully follow the pattern you see there and make a file just like it with your own coordinates, you should be able to import it into the Control Panel.
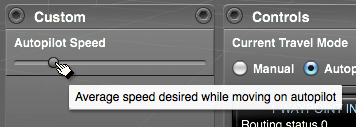
Finally, here is an example of how you can use our Custom Command feature to add autopiloting refinements. Suppose you want to be able to adjust the Robot’s speed while it is tracking down your waypoints. You can create a custom command to deal with that, and then have the Arxterra system display a slider for you to use, including the label and tooltip you want it to display, the numerical range of values your Arduino is expecting to receive, the command ID number to use, etc.
You add your code to the Arduino sketch, then let ArxRobot know about it via the Custom Command configuration screen. See how that is done in Creating Custom Commands With the Arxterra Application.